Amazon Web Services (AWS) is a powerful cloud platform that offers a wide range of services, from computing power to storage and databases. Whether you’re a developer, a startup, or part of a large enterprise, setting up or Creating a AWS account is straightforward. Here’s how to Create AWS Account:
Step 1: Visit the AWS Website For Creating AWS Account
Begin by navigating to the AWS homepage. Here, you’ll find resources, documentation, and information about various AWS services.
Step 2: Begin the Sign-Up Process For AWS Account
- Click on the “Create an AWS Account” button located in the upper right corner of the homepage.
Step 3: Provide Your Email and Password
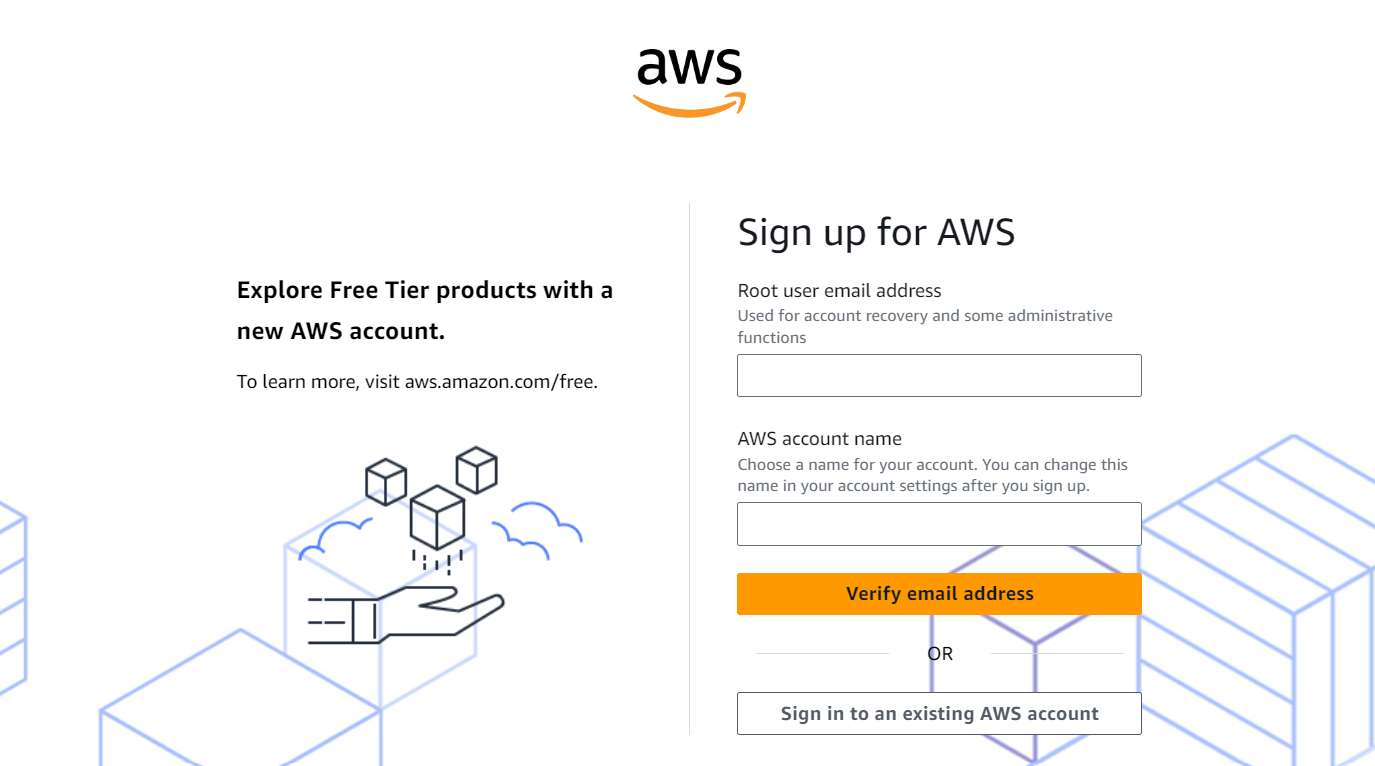
- Enter your email address.
- Choose a strong password that meets AWS security requirements.
- Enter an account name that reflects your organization or purpose for using AWS.
Step 4: Choose Account Type
- Select whether you are creating a personal account or an account for your organization.
Step 5: Fill in Contact Information
- Provide your contact information, including your name, phone number, and address. Ensure that the details are accurate for account verification.
Step 6: Enter Payment Information
Enter your credit/debit card details. AWS needs this for identity verification, but many services are available under the Free Tier, allowing you to explore without immediate charges.
Step 7: Identity Verification
You may need to verify your identity. AWS will send you a verification code via a phone call or text message.
Step 8: Select a Support Plan
Select a support plan that fits your needs. AWS offers various options, including a free basic support plan, perfect for new users.
Step 9: Complete the Sign-Up Process
Review all the information you’ve provided. If everything looks correct, finish the sign-up. You’ll receive a confirmation email from AWS.
Step 10: Access Your AWS Account
Once your account is set up, head to the AWS Management Console. Log in with your email and password, and start exploring AWS services!
Bonus Tips
- Explore the AWS Free Tier: AWS offers a Free Tier that provides limited access to many services. This is a great way to get hands-on experience without immediate costs.
- Set Up Billing Alerts: To avoid unexpected charges, consider setting up billing alerts in your account settings. Check out our blog post for instructions on how to do this.
- Utilize AWS Documentation: AWS provides extensive documentation and tutorials. Take advantage of these resources to enhance your understanding of various services.
Discover more from Frenztech
Subscribe to get the latest posts sent to your email.
2 replies on “How to Create an AWS Account: A Step-by-Step Guide”
[…] in to your account. If you don’t have an account yet, it’s quick to set one up. Just check out Setting Up: New AWS Cloud Account on how to set up your AWS Cloud […]
[…] you a startup looking to build and scale your business with the power of cloud computing? AWS (Amazon Web Services) provides a range of solutions, but getting started can be expensive. Fortunately, AWS offers free […]